 OpenPost
Image Editor

Create reusable designs, carousel pages, and images for your posts.
Use the Image Editor to make a post image, carousel, or slideshow pages. Open the public editor without an account, or start a workspace design from Media → Create → Create design, an image in Media, or a post's media picker.
Start without signing in
The public editor adds no watermark. Start with a social format, a template, or a PNG, JPEG, or WebP image. Designs and imports stay in that browser, so use the same device to return to them. Clearing site data or using private browsing can remove local work.
Export PNG, JPEG, or WebP files at any time. To keep an editable design in a workspace, choose Save to OpenPost and sign in or create an account. OpenPost copies the design and its images to the workspace; the browser copy remains on the original device.
Build a design
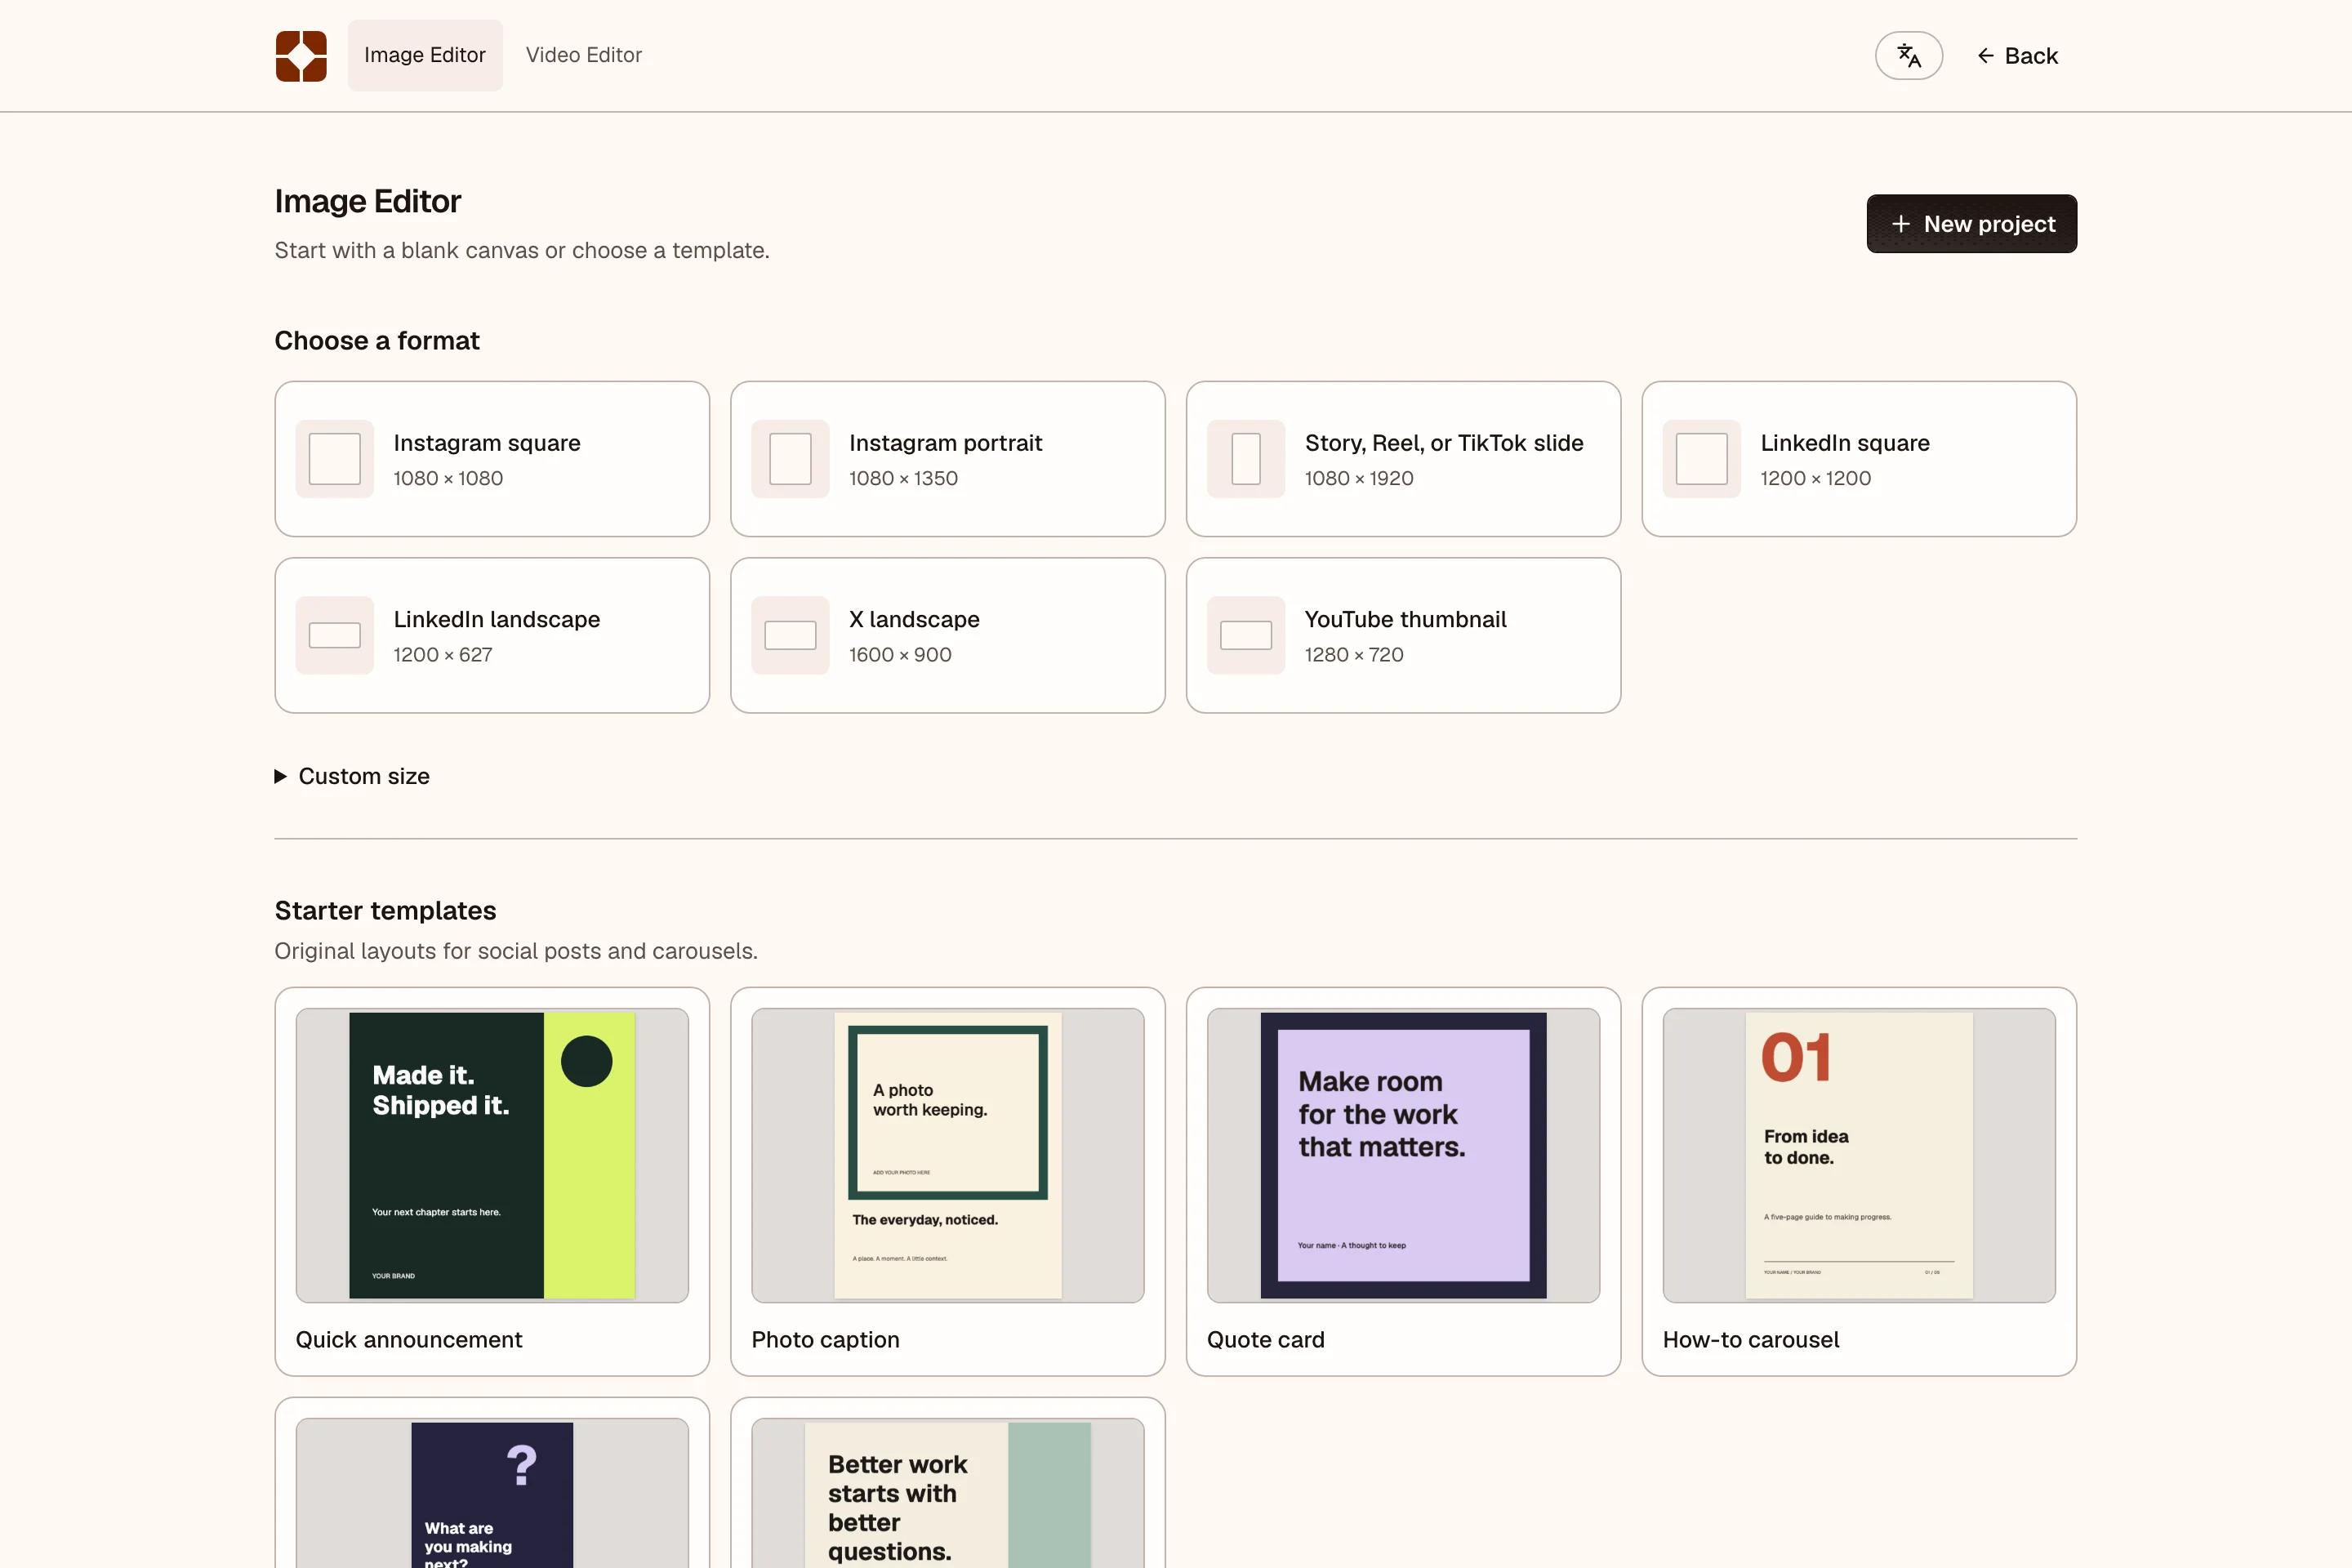
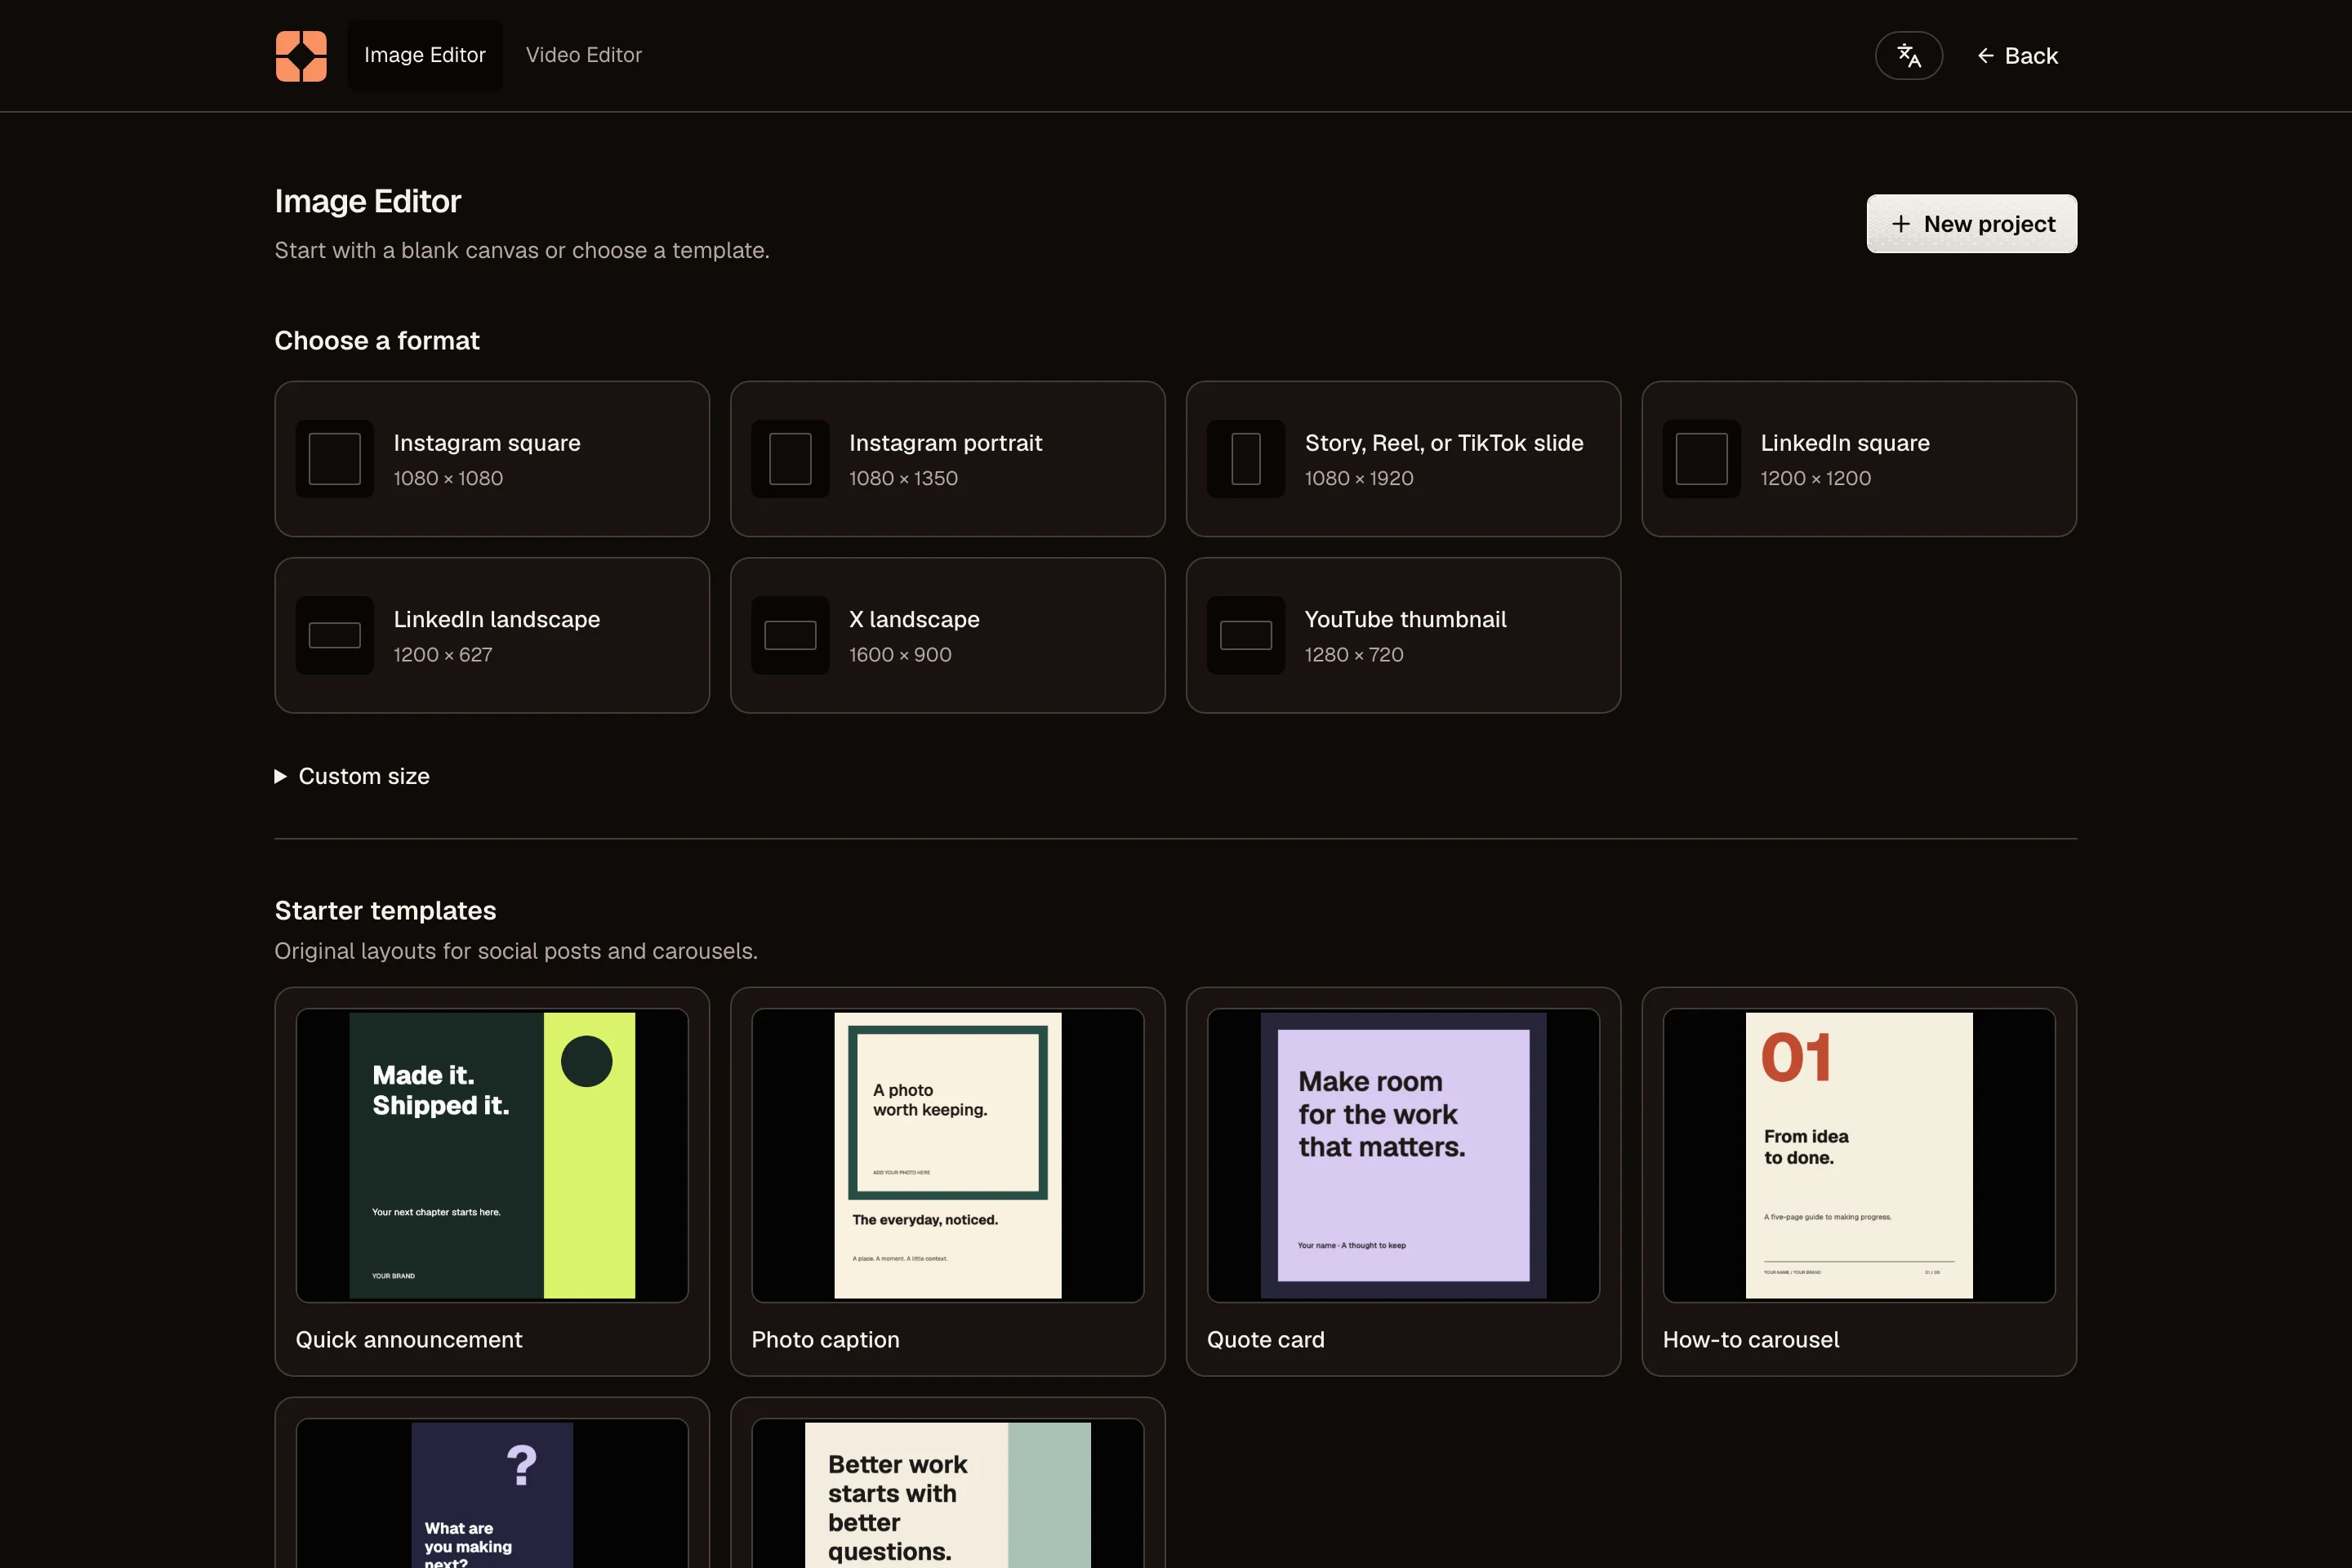
Start with a social preset, a starter or workspace template, or an existing image. Add up to 35 pages and order them as they should appear in the post. Each page can have a solid, transparent, gradient, or image background, with text, image, shape, paint, and group layers.
On desktop, the canvas, assets, brand items, Layers, Properties, and pages stay visible together. On a phone, use the bottom tool rail to open one editing sheet at a time. You can still add and transform layers, crop images, change text and shapes, reorder pages, undo, remove backgrounds, and export.
OpenPost Image Editor saves soon after you stop editing. Public designs stay on the current device. Workspace designs are saved to OpenPost. Changes that have not reached the server also stay in this browser for seven days. If another browser changes the same design, OpenPost Image Editor does not overwrite it. You can reload the saved version, save your local work as a copy, or keep editing locally.
Work with layers
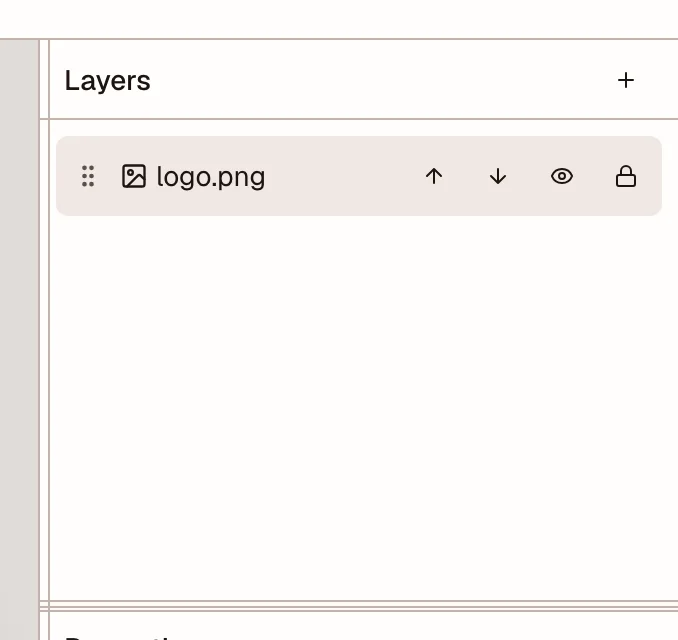
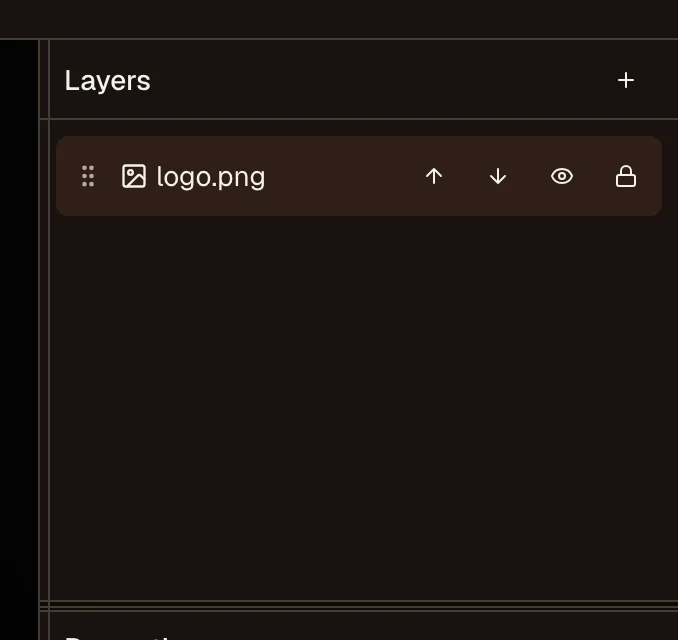
Every item on a page is a layer. The Layers panel lists them from front to back. Select a layer to move, resize, or change it. Drag a layer up or down to change what covers what. Use the eye icon to hide a layer and the lock icon to keep it in place.
Example: put your logo on a photo. Add the photo first, then add the logo image. Drag the logo above the photo in the Layers panel so it stays on top. Lock the photo so you do not move it by accident.
Order pages
Each page becomes one image in the post, in strip order. Add a page with the plus button, copy one with the duplicate button, or remove one with the delete button. Select a page to edit it. Drag page previews to reorder them.
Example: a 4-page carousel about a launch. Make page 1 the announcement, pages 2 and 3 the details, and page 4 the call to action. Reorder by dragging until the story reads well.


Return to an earlier version
For workspace designs, open File → Version history to preview an earlier version or save a named one. The list shows when and by whom each version was saved. Select one to see its preview and a summary of changes. Choose Load more for older named versions.
Preview a version before restoring it. OpenPost saves your current design as a restore point. If another browser has changed the design, reload that version or save your local work as a separate copy first.
To reuse a layout, save it as a new workspace template or replace an existing template. A design made from a template is its own copy. Later template or brand-kit changes do not change that design.
Use workspace brand items
Manage the workspace brand kit from Settings → Workspace → Brand. It can hold named colors, default page backgrounds, whole-layer text styles, and custom WOFF2, TTF, or OTF fonts.
You must confirm that you can use a custom font before upload. OpenPost previews it in the browser and checks its file type and size on the server. You cannot remove a font while a design or template uses it. The Image Editor exposes saved brand colors and fonts. Saved page backgrounds and whole-layer text styles remain available in the brand kit but do not yet have direct apply actions in the editor.
Background removal
Select an image layer and choose Remove background. OpenPost loads this feature only when you use it and works on the image in your browser. It uses your graphics hardware when available and your processor when needed. It does not send the image to another background-removal service.
Example: a product photo with a messy room behind it. Remove the background, then place the clean cutout on a solid brand color. The edges stay sharp enough for a post.
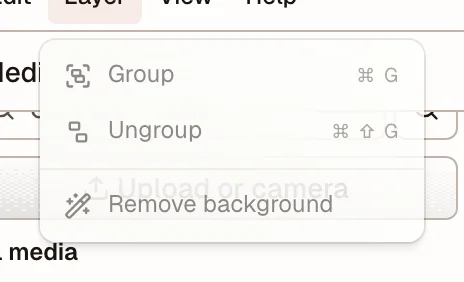
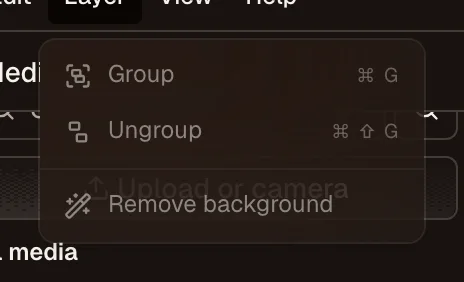
The result is a new transparent PNG in Media. The original stays unchanged, and you can undo the layer change. OpenPost may use a smaller temporary copy for a large image without changing the original.
Export or return to your post
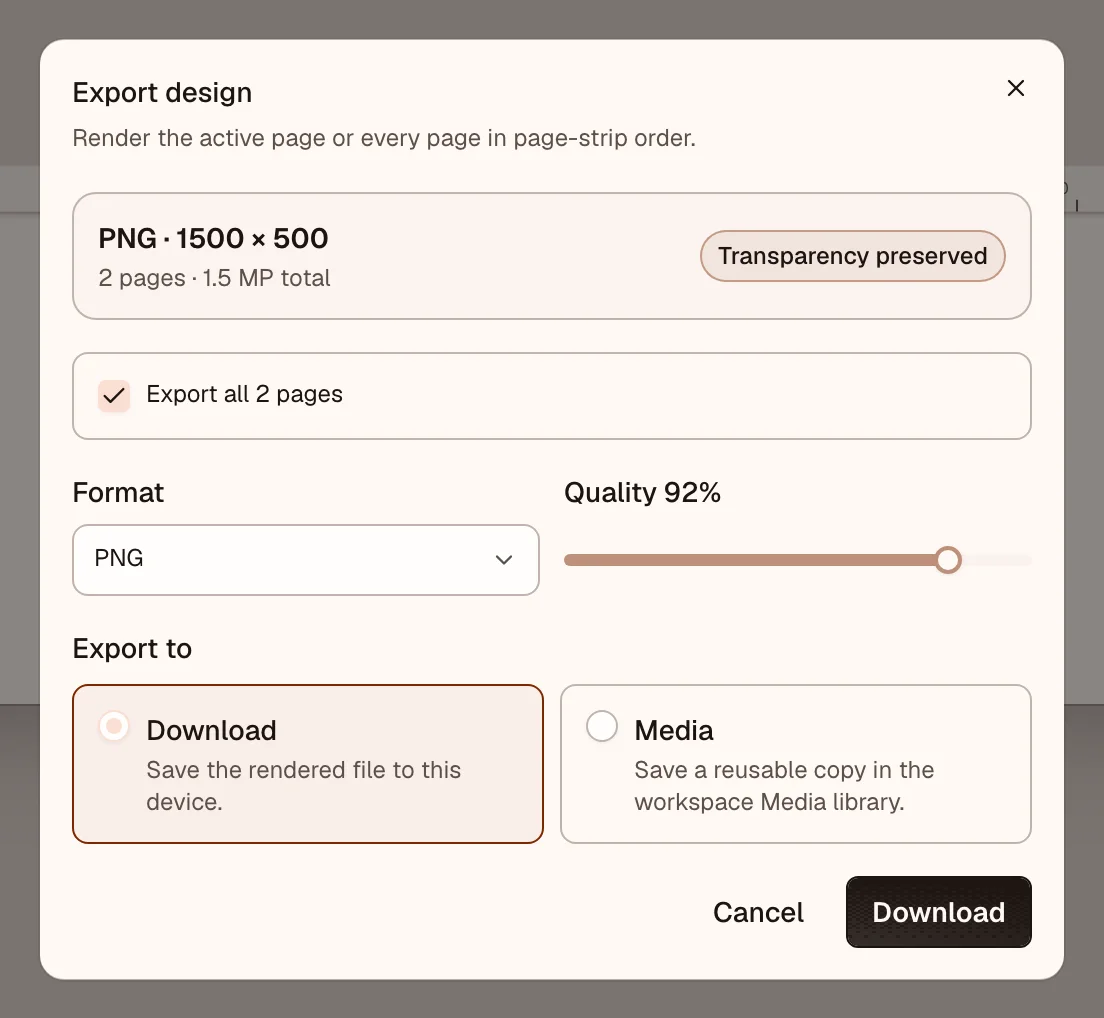
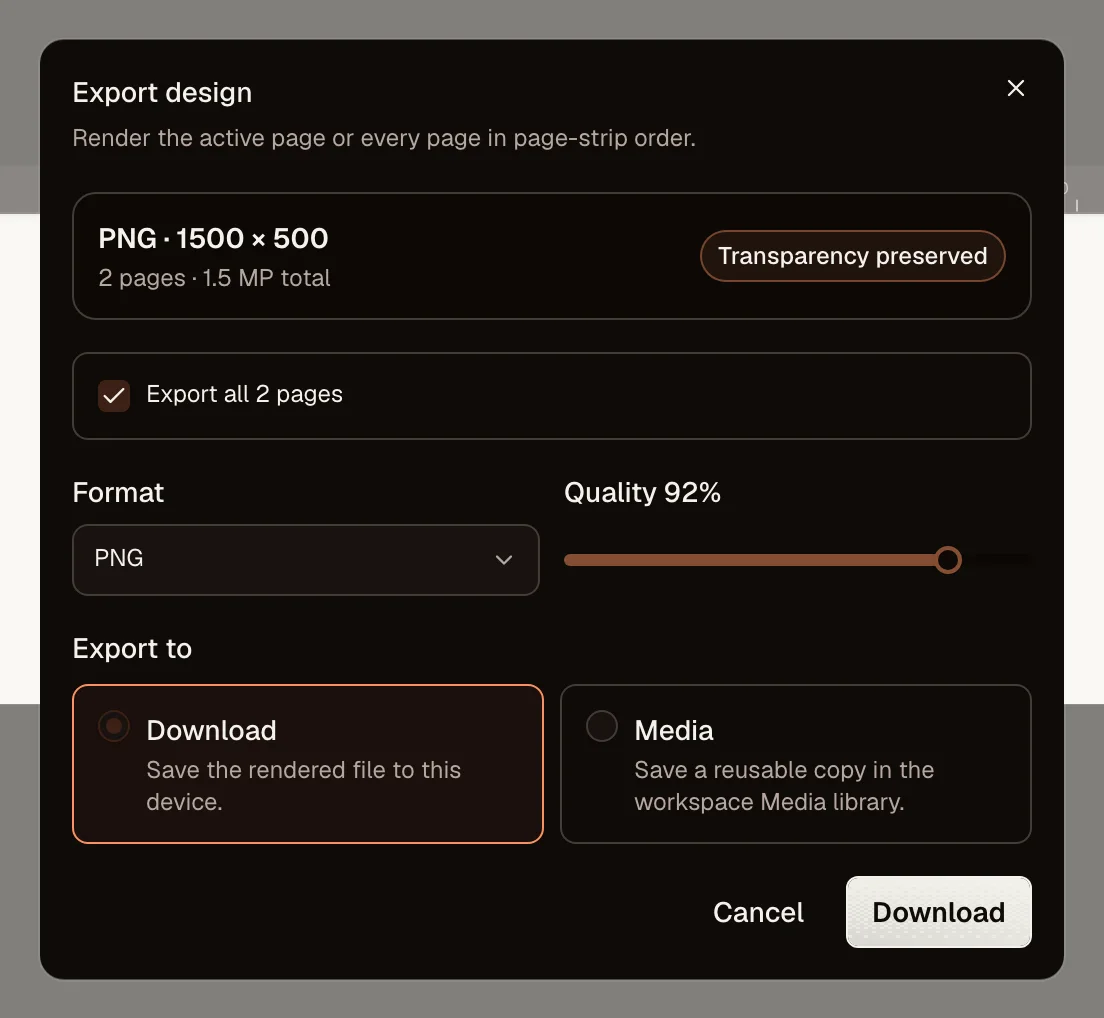
Export the current page or every page in order as PNG, JPEG, or WebP. A multi-page download is a ZIP file. Workspace exports in Media retain their source design and page.
When OpenPost Image Editor opens from a post, OpenPost saves a local recovery copy and a return link that works for two hours. Export and attach adds the files in order to the same post, thread part, or thumbnail field and checks the account limits again. If OpenPost cannot return to the post, the exported files stay in Media.
Example: export all 4 carousel pages as PNG. The dialog shows the total size before you download. The result is one file per page, ready to attach in order.
Editor limits
OpenPost Image Editor edits still images only. It does not edit video, make animations, add any SVG or remote link as a layer, mix text styles in one layer, use CMYK or print units, let several people edit at once, or offer MCP editing tools.